Drawing Pixel Art with 23,000 Text Messages
How I managed to draw pixel art on a massive video wall using Ruby, a little bit of AppleScript and 23,000 text messages.
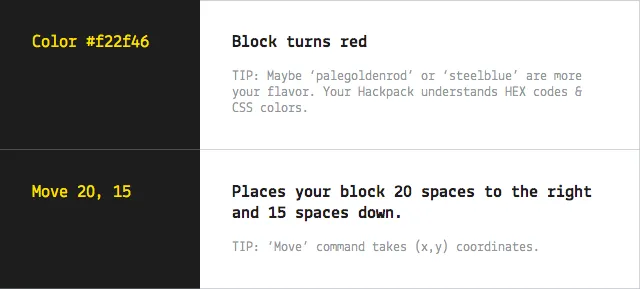
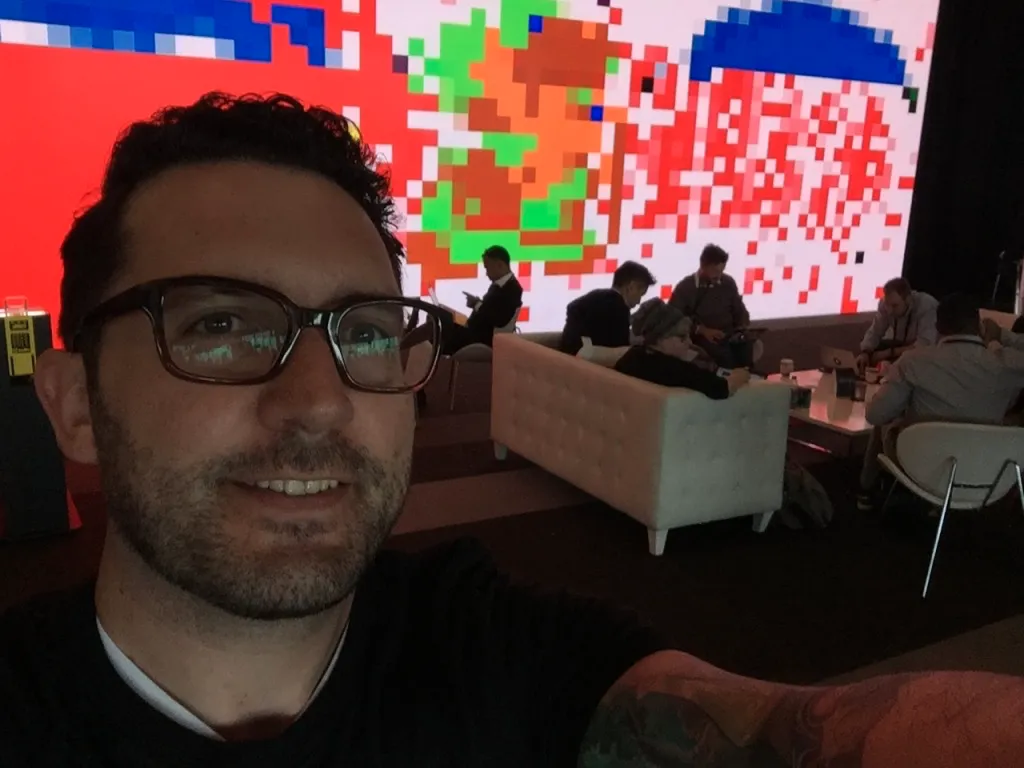
In May, Twilio set up a massive 40-foot video wall for their SIGNAL conference and handed out hackable wireless badges to every attendee. Once you activated your badge by placing it in one of the podiums in front of the display, you could send commands to a short code that would affect your personal block on the video wall.

As attendees began activating their badges, you could see squares of the display post their “Ahoy, World!” message and identify their location. It didn’t take long for shapes, words, and large patches of color to begin taking shape on the wall. As soon as I saw what was possible, I had to find a way to draw pixel art on the display.
Sorting Out SMS Short Code Delivery
Knowing that all I needed to do was send text messages in order to move and colorize squares on the display, and being at Twilio’s SIGNAL conference, I figured we were almost expected to use Twilio to hack the video wall. Unfortunately, it turns out that it’s not currently possible to send SMS from a Twilio number to a short code. I needed to find another way.
I knew that with Handoff enabled on my MacBook I could send texts through the Messages app. I thought it might be possible to use AppleScript to control the app and send SMS. A Google search on AppleScript syntax and an open Terminal allowed for a quick test. Amazingly, the test did exactly what I expected.
osascript -e 'tell application "Messages" to send "Move 0, 1" to buddy "744625"'

Automating Message Delivery
Now that I was capable of programmatically sending text messages through my personal phone number I needed a way to send a series of messages. I created a new file and began tinkering with Ruby.
# display.rb

messages = ["Move 0,1", "Color #FF0000", "Move 1,1", "Color #00FF00"]
messages.each do |message|
  system %[osascript -e 'tell application "Messages" to send "#{message}" to buddy "744625"']
end
ruby display.rb

These four lines of Ruby create an array of messages, iterate over that array and execute a system command to make AppleScript send the message to the application controlling the video wall. The only problem was that the application receiving the messages didn’t seem to consistently receive all the messages, or would receive them out of order, drawing colors in the wrong location. As I was trying to sort out the inconsistency in the messages being sent someone pointed out that I likely needed to adhere to the 1 message per second rate limit on outgoing SMS, something I later found out Twilio manages for you when you’re using Programmable SMS.
Adding a sleep 1 after sending each message was all it took to get a consistent result. I was one step closer to my goal of drawing pixel art, but I didn’t want to take the time to manually enter all of the messages necessary to draw an entire image.
Preparing an Image
If I could determine the position and color of each pixel of an image, the program could send the two messages necessary to draw each pixel to the screen. RMagick, a Ruby library for ImageMagick, could manipulate images with Ruby. I started looking through the RMagick API to see how I might get information about pixels in an image.
Conveniently, RMagick’s Image class has an each_pixel method that calls a block with 3 arguments, a pixel from the image, its column number, and its row number, for all the pixels in the image. The “pixel” referred to in that method definition is an instance of the Magick::Pixel class, which also happened to have a to_color method.
To test out these methods, I first installed ImageMagick and the RMagick gem. To be compatible with RMagick, I needed to install ImageMagick 6. To produce the correct color values, ImageMagick needed to be compiled with an 8-bit quantum depth (I still don’t know exactly what that means, but being compiled for a 16-bit quantum depth provides twelve character hex values instead of six character). On a Mac with Homebrew installed[a], installing ImageMagick and the RMagick gem would look like this:
brew install imagemagick@6 —with-quantum-depth-8 && gem install rmagick
With the necessary tools installed, I wrote a new test to see what sort of output I might get from RMagick when I pass in an image:
image = Magick::Image::read(ARGV[0]).first
image.each_pixel do |pixel, x, y|
  p "Move #{x}, #{y}"
  p "Color #{pixel.to_color}"
end
ruby display.rb link.png
"Move 39, 20"
"Color white"
"Move 40, 20"
"Color #C66300"
"Move 41, 20"
Bringing it All Together
Now I had a way of converting an image into a series of instructions and a process for sending those instructions as text messages. I cleaned up my previous tests and combined them into a new Image class. The class is initialized with a single named argument, filepath, and has one public method, display, that reads the pixel data and sends the necessary text messages to the video wall application.
require 'rmagick'

class Image
  attr_reader :filepath

  def initialize(filepath:)
    @filepath = filepath
  end

  def display
    image_file.each_pixel do |pixel, x, y|
      send_message "Move #{x}, #{y}"
      send_message "Color #{pixel.to_color}"
    end
  end

  private

  def image_file
    Magick::Image::read(filepath).first
  end

  def send_message(message)
    `osascript -e 'tell application "Messages"
      to send "#{message}"
      to buddy "744625"'`
    sleep 1
  end
end

image = Image.new(filepath: ARGV[0])
image.display
With this script, I could finally send an image to the video wall. However, doing some quick math I realized that a 75×26 pixel image has 1950 pixels, and with two one second sleeps for each pixel, it would take at least 65 minutes to draw the entire screen!
The first optimization that came to mind was to omit transparent pixels. In RMagick, if a pixel is fully opaque, it has an opacity of 0. Making the following change cut the number of pixels needed to draw my sample image down to 212, which should only take a little over seven minutes to print on the display.
Here’s the updated display method:
# ...
  def display
    image_file.each_pixel do |pixel, x, y|
      if pixel.opacity == 0
        send_message "Move #{x}, #{y}"
        send_message "Color #{pixel.to_color}"
      end
    end
  end
# ...
This was finally a reasonable script for displaying test images. I ran the script, passing in my 75×26 image with a picture of Link in the middle, and after a few minutes, there it was.
ruby display.rb link.png

Once I had the script working consistently, I sent a number of other images up to the screen. After I’d had my fun, I wrapped everything up in a Gist, and posted it on Twitter.
Reflection
At the end of the week, I checked my cell phone usage and realized I’d sent a total over 23,000 text messages while experimenting with the video wall! I keep waiting for a call from my carrier informing me that they’ve revoked my unlimited SMS plan, but so far I’m in the clear. I really enjoyed tinkering on this hack and would have loved to experiment more with the hackpack and it’s integration with video wall, but this little project was enough of a distraction from the other amazing things happening at SIGNAL.